

Article Contents
When a tilt-and-turn window starts sticking, becomes difficult to close, lets in draughts or requires force to turn the handle, it is natural to think that it is broken. In many cases, however, the problem may simply be hardware that needs adjustment, sash misalignment, incorrect closing pressure or a lack of maintenance.
Even so, not every problem can be solved with a DIY adjustment. A window that still lets in cold air, noise or draughts after adjustment may have worn seals, damaged hardware, installation faults or an older frame that no longer performs efficiently.
This guide explains how to recognise a tilt-and-turn window that needs adjustment, which checks you can carry out safely, when to call a technician and when replacing the window with a more efficient uPVC system may offer better thermal and acoustic insulation.
What is a tilt-and-turn window?
A tilt-and-turn window has two opening modes: it can swing open sideways like a conventional casement window, or tilt inwards at the top for controlled ventilation. This system is widely used in modern uPVC windows because it offers comfort, convenience, security and a good seal when correctly installed and adjusted.
The hardware is what makes this system possible. It allows the window to switch between opening positions, keeps the sash aligned and presses it correctly against the seals when closed.
Incorrect adjustment, wear or a lack of maintenance can cause symptoms such as:
- sticking when opening or closing;
- a stiff handle that is difficult to turn;
- a misaligned sash;
- air leakage;
- noise from outside;
- difficulty closing the window completely;
- a window that feels loose or does not sit firmly against the frame.

How can you tell if a tilt-and-turn window needs adjustment?
Before adjusting a tilt-and-turn window, identify the type of problem. Different symptoms can have different causes.
A window may close poorly because it is slightly misaligned, but worn hardware, deformed seals, installation faults or damaged components can also be responsible. Start by carefully observing how the window behaves.
Signs of poor alignment
The window may be misaligned if:
- the sash rubs against the bottom or side of the frame;
- you have to lift the sash slightly to close it;
- the handle only turns when forced;
- the window appears to drop to one side;
- the locking points do not engage correctly.
In these cases, the sash height or lateral position may need adjusting at the hinges. The exact procedure depends on the hardware and manufacturer.
Signs of too little or too much closing pressure
Closing pressure is the force with which the sash presses against the seals when the window is shut.
Too little pressure can let in air, cold, dust or noise. Too much can make the handle excessively stiff, wear out the seals prematurely and strain the hardware.
Common signs of incorrect pressure include:
- a draught near the window;
- a window that closes but does not seal properly;
- an excessively stiff handle;
- having to push the sash to close it;
- outside noise even when the window is closed.
Signs of worn seals
Adjustment is not always the issue. The seals, also known as gaskets, play an essential role in the window’s insulation.
They may be worn if:
- they are dry, hard or cracked;
- they have lost their elasticity;
- they have slipped out of position;
- some sections no longer make proper contact;
- the window still lets in air after adjustment.
Tightening the window further may not solve this. It may simply strain the handle and hardware without restoring the seal.
When installation may be the problem
If air enters around the frame, between the wall and the window, the fault may lie in the installation, perimeter insulation or internal and external finishing, rather than in the sash or hardware.
This is particularly relevant to older windows, poorly executed work or replacements installed without adequate insulation between the frame and the wall.
Before adjusting the window: important precautions
Adjusting a tilt-and-turn window may look straightforward, but care is essential. Window hardware consists of precision mechanisms and varies between manufacturers.
A small adjustment may help, while an incorrect intervention can damage components, compromise safety or make the problem worse.
What you can check safely
Start by checking:
- whether dirt has built up in the tracks or hardware;
- whether any seal is out of position;
- whether the handle turns normally;
- whether the sash has visibly dropped;
- where the window rubs;
- whether there are any visibly loose screws;
- whether the window opens correctly in both modes.
These checks do not require dismantling and can help establish whether the problem is straightforward or needs technical support.
Tools commonly used
On many tilt-and-turn windows, some adjustments use an Allen key. However, the key size and adjustment points depend on the installed hardware.
It may also help to have:
- a clean cloth;
- a small brush;
- a lubricant suitable for window hardware;
- a torch;
- a sheet of paper to test closing pressure.
Do not use cooking oil, corrosive products or unsuitable lubricants. Hardware maintenance requires products compatible with its metal mechanisms.
What to avoid
Do not:
- force the handle;
- remove the window sash;
- dismantle the hinges;
- adjust screws without understanding their purpose;
- overtighten the locking points;
- replace parts without checking compatibility;
- ignore broken hardware or structural looseness.
If the window is heavy, seriously misaligned or stuck between opening positions, the safest approach is to request a professional assessment.
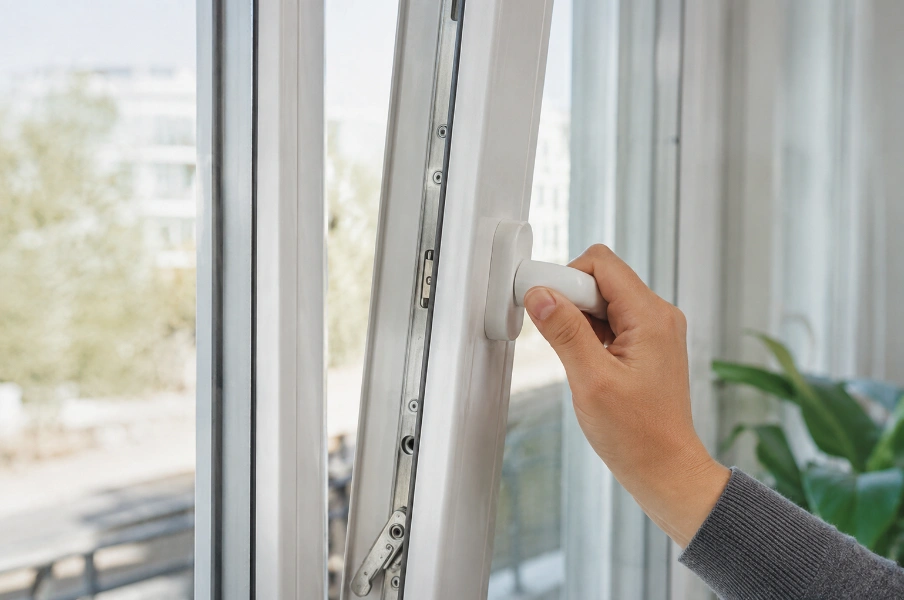
How to adjust a tilt-and-turn window step by step
Please note: the following steps are general guidance. Hardware varies by brand, model and installation. If you are unsure, the window is heavy or you notice damaged parts, do not force it; contact a professional.
1. Check that the window is clean and free of obstructions
Before making any adjustment, check whether dirt, small objects, dried paint, building residue or debris in contact areas is preventing the window from closing.
Open it carefully and inspect:
- the bottom of the frame;
- the locking points;
- the hinges;
- the seals;
- the tracks;
- the top of the sash.
Clean with a dry or slightly damp cloth. Use a small brush to remove dust from the hardware.
This simple step can clear minor obstructions without any adjustment.
2. Check the handle position
On a tilt-and-turn window, the handle selects different hardware positions. In many systems:
- handle down: window closed;
- handle horizontal: side opening;
- handle up: tilt opening.
If the handle has stopped between positions or was turned while the sash was not properly supported, the mechanism may lock or appear faulty.
Do not force it. Bring the sash gently against the frame, carefully press the anti-mishandling catch if fitted, and try to return the handle to the correct position. If this does not work, call a technician.
3. Check whether the sash has dropped
A window that rubs at the bottom may have dropped slightly through use, the weight of the glass or insufficient hardware maintenance.
Typical signs include:
- the sash touching the lower frame;
- needing to lift the window to close it;
- friction marks at the bottom;
- a lock that does not engage smoothly.
With some hardware systems, the sash height can be adjusted at the lower hinge using an Allen key. Small turns can raise or lower it slightly.
Make very small adjustments and test the window after each one. Turning too far can worsen the alignment.
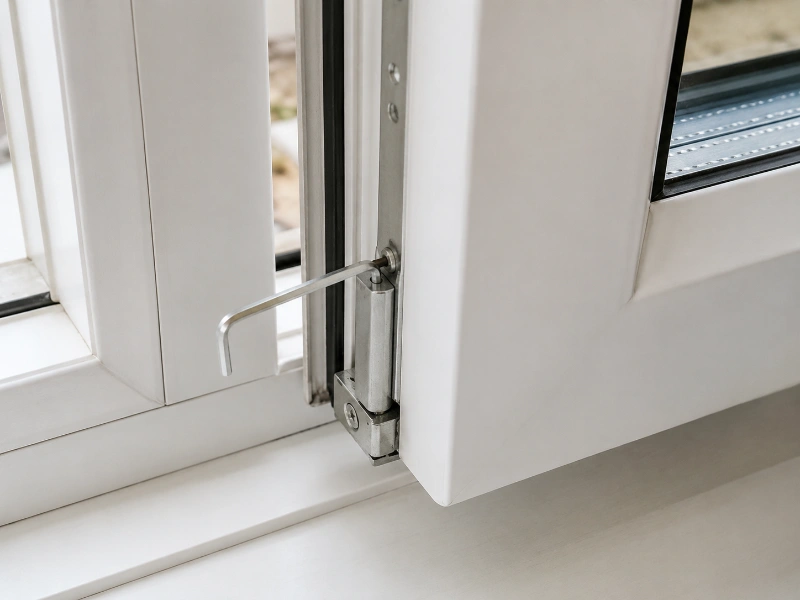
4. Correct minor lateral misalignment
If the window sticks at the side, it may be horizontally misaligned. On some systems, the lower or upper hinge allows the sash to move slightly left or right.
Make this adjustment carefully. The aim is to seat the sash evenly against the frame, not to tighten every component.
After each small turn, check that:
- the window opens without rubbing;
- it closes without effort;
- the handle turns smoothly;
- the locking points engage properly.
If it continues to stick, wear or distortion may require professional attention.
5. Adjust closing pressure carefully
Closing pressure directly affects the window’s seal. When correctly adjusted, the sash presses evenly against the gaskets without making the handle stiff or requiring excessive effort.
Some hardware systems use eccentric cams or adjustable locking points to regulate pressure. Turning them changes how firmly the sash presses against the frame.
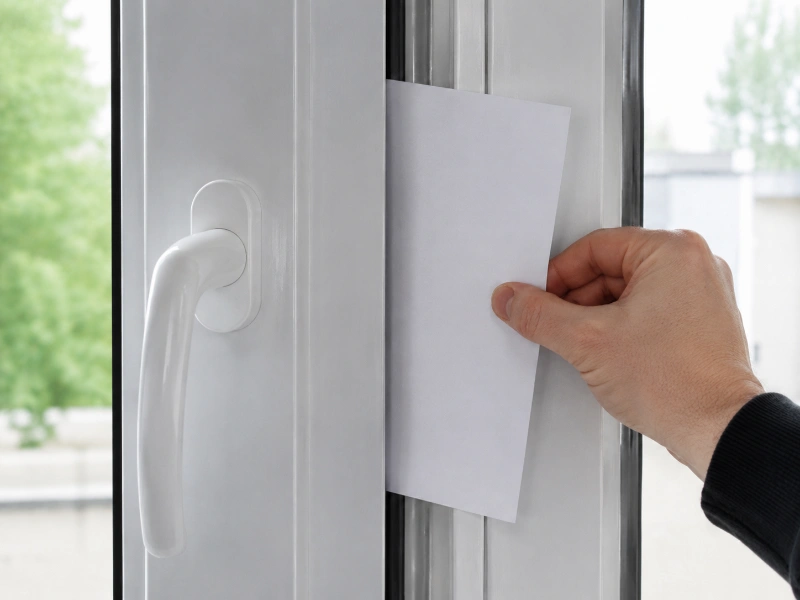
A simple way to check pressure is with a sheet of paper:
- place the paper between the sash and frame;
- close the window;
- try to pull the paper out;
- if it slides out without resistance, pressure may be insufficient;
- if it is firmly trapped and the handle is stiff, pressure may be excessive.
Ideally, there should be moderate, even resistance at several points around the window.
Do not keep increasing pressure to stop a draught. If the seals are worn or deformed, this may only strain the hardware.
6. Lubricate stiff hardware
If the handle is stiff or the window makes noise when opening, lubrication may be needed. Hardware should operate smoothly, without squeaking or jamming.
Use only a suitable window-hardware lubricant, applying small amounts to moving points. Open and close the window several times to distribute it.
Avoid excess lubricant, which can attract dust and dirt.
7. Test both opening modes
After adjustment, carefully check:
- side opening;
- tilt opening;
- full closure;
- handle movement;
- closing pressure;
- air leakage;
- noise or friction points.
The window should open and close easily without rubbing or requiring force on the handle.
If resistance, looseness, air leakage or difficulty closing persists, adjustment may not be the only issue.
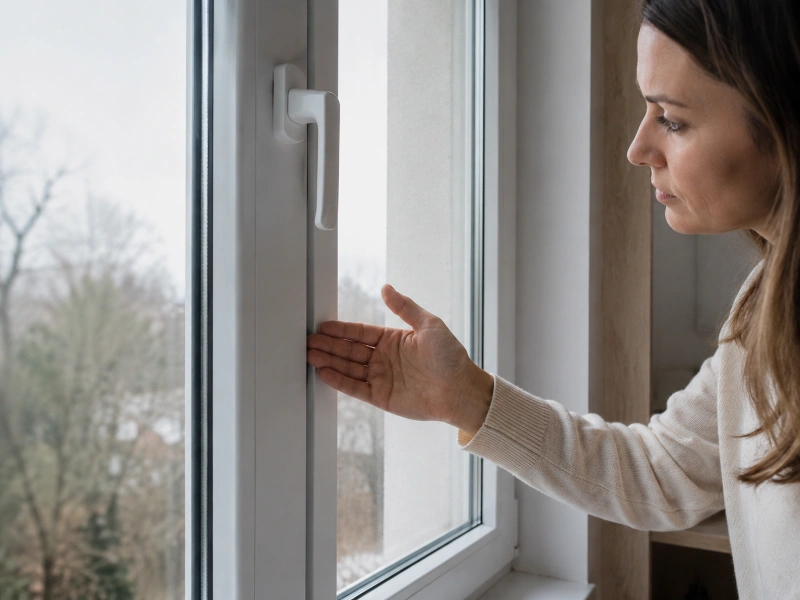
Is the window still letting in draughts?
This is an important warning sign. A draughty tilt-and-turn window may need adjustment, but it may also have other faults.
Air leakage and poor thermal comfort may be associated with:
- worn seals;
- insufficient pressure from the hardware;
- a misaligned sash;
- poor installation;
- an old frame;
- inefficient glazing;
- inadequate thermal breaks in frames made from other materials;
- gaps between the frame and wall.
If draughts remain after the basic checks, a more thorough diagnosis is needed.
Dry or deformed seals
Seals help keep out air, water and noise. Over time, they may lose elasticity, dry out or become deformed.
The window can then appear to close properly while failing to seal effectively.
Replacing the seals may solve the problem, provided the system allows it and compatible parts are available.
Worn or incorrectly adjusted hardware
The hardware holds the sash firmly against the frame. If it is worn, loose or damaged, the window may no longer close with enough pressure.
Warning signs include:
- a loose handle;
- locking points that do not engage;
- an unstable sash;
- broken parts;
- unusual metallic noises;
- difficulty switching between side and tilt opening.
Do not continue making repeated adjustments without a professional assessment.
Insulation problems around the window
If air enters between the window and the wall, the fault may be in the perimeter insulation rather than the window itself.
This can happen when installation finishing is inadequate, sealing materials have deteriorated or water has penetrated the joint.
A good uPVC window needs good installation. Profile, glazing and hardware quality matter, but final performance also depends on fitting.
Adjust, repair or replace: how do you decide?
It is not always easy to decide whether a window needs adjusting, repairing or replacing. The answer depends on the condition of the frame, hardware, seals and glazing, and the comfort it can still provide.
When adjustment may be enough
Adjustment may be sufficient if:
- the window is relatively recent;
- the uPVC window hardware is in good condition;
- the seals are still flexible;
- the sash is only slightly misaligned;
- sticking is minor;
- there is no water ingress;
- insulation remains acceptable after adjustment.
A careful adjustment can restore normal operation in these situations.
When repair may be needed
Repair may make sense if:
- the seals are worn but replaceable;
- some hardware components show wear;
- the handle is loose;
- minor alignment issues keep recurring;
- the window structure is still sound;
- the glazing and frame remain suitable.
Repairs should use compatible parts and ideally be carried out by a specialist technician.
When replacement may be the better option
Consider replacement if:
- the window is old and inefficient;
- cold or heat remains a problem after adjustment;
- outside noise is intrusive;
- condensation is frequent;
- the seals and hardware are badly deteriorated;
- the glass no longer provides adequate thermal or acoustic performance;
- the original installation has serious defects;
- repair offers poor value compared with a new window.
In these cases, an efficient, made-to-measure uPVC window with suitable double glazing or triple glazing, good hardware and professional installation can significantly improve comfort.
Repeated adjustment then becomes a diagnostic clue rather than the main solution: the window may no longer meet the home’s needs.
Why are uPVC windows a good choice for comfort and insulation?
uPVC windows are popular in renovation projects because they combine good thermal performance, straightforward maintenance, durability and value for money.
When properly specified and installed, they can improve:
- thermal insulation;
- acoustic insulation;
- comfort in winter and summer;
- airtightness;
- protection against draughts;
- security;
- the home’s energy efficiency.
Choosing the right system is essential. An efficient window depends on more than the frame material: the profile, glass, hardware, seals and installation quality all matter. Independent information on building energy efficiency can help put these choices into context, especially when your aim is better thermal comfort and lower heat loss.
For example, a home exposed to considerable noise may need a stronger focus on acoustic insulation. A home with large temperature swings may require particular attention to glazing, airtightness and thermal performance.
When should you call a professional?
Contact a specialist technician if:
- the window will not close at all;
- the sash has dropped significantly;
- the handle is jammed;
- the window is stuck between opening positions;
- hardware is broken;
- the window is large or heavy;
- air enters at several points;
- there is water ingress;
- you cannot identify the adjustment points;
- small adjustments have not solved the problem;
- the window is still under warranty;
- you want to replace seals or hardware.
A technician assesses the whole system: profile, glass, hardware, seals, installation and finishing. This helps avoid improvised fixes that solve one symptom while causing another.
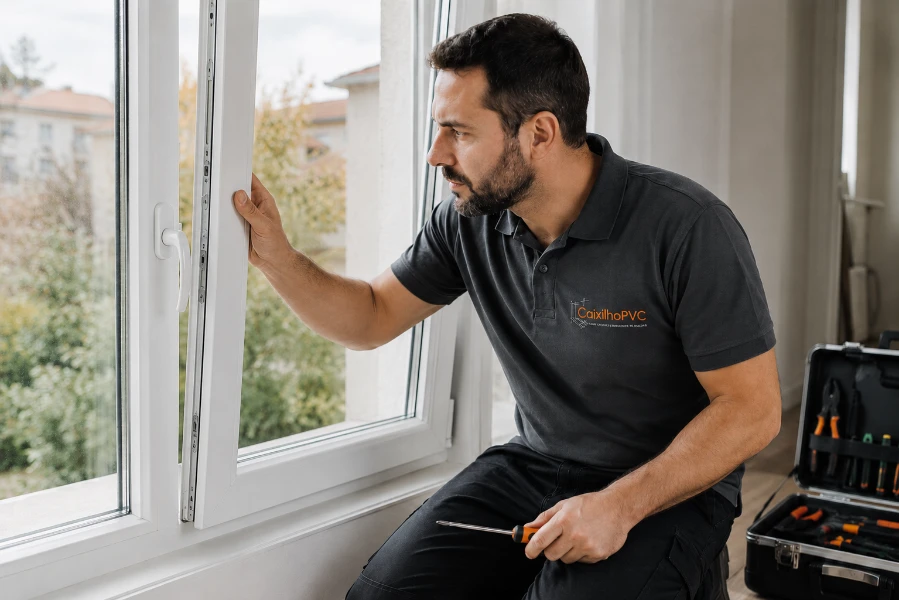
Quick checklist: what to check before asking for help
Before contacting a professional, gather a few useful details:
- Does the window stick at the top, bottom or side?
- Is the handle stiff or loose?
- Does air enter around the sash or the wall joint?
- Are the seals dry, cracked or out of position?
- Does the window open properly in both turn and tilt modes?
- Can you hear outside noise even when it is closed?
- Is the window old?
- Did the problem appear suddenly or worsen over time?
- Are there signs of water, mould or condensation?
These answers help with an initial assessment and indicate whether the issue is likely to be minor, mechanical or structural.
Still not closing properly? It may be time for a professional assessment
A tilt-and-turn window that does not close properly is not necessarily broken. It may simply need cleaning, lubrication, alignment or a closing-pressure adjustment. However, if it still lets in draughts, repeatedly sticks, has worn hardware or no longer provides thermal and acoustic comfort, adjustment may not be enough.
A more complete assessment is then worthwhile. The problem may lie in the seals, installation, glazing, hardware or overall frame quality.